Adding your own custom ID3 meta data tags to an MP3 file is easy
First, you need to know how to properly export MP3 files.
We can easily add our own tags to any MP3 file by editing the MP3 file itself. There is a way to perform this task without the need of special software (the 1337 way), but we are going to use a free piece of awesome software called Mp3tag. I’ve been using this software for years and it works great to edit single or hundreds of MP3 files simultaneously.
Download and install the program to your computer. Open it up, and let’s get started!
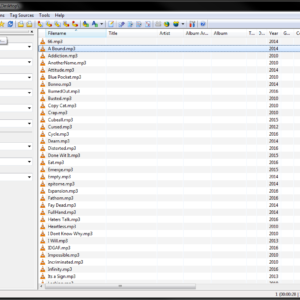
First, we need to add or change directories. The MP3’s I want to edit are located on my desktop, so I will just open my desktop folder in the program. To do this, we just click on the folder icon in the top tool bar that has a green check mark on it, or you can click the plus(+) icon directly to the right to add another directory to your list.
As you can see, I have a bunch of random, unfinished beats on my desktop. Let’s edit the file I have selected called “A Bound.mp3.”
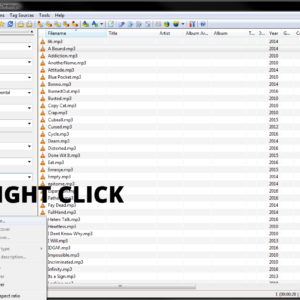
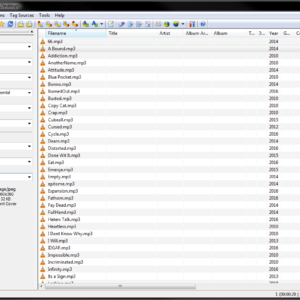
Left click any file you want to edit and its properties and tags will appear on the left sidebar. I have no properties on my currently selected MP3 file, but I am about to populate the fields and show you how to apply them. In the next screen shot, you can see that I have populated all the data fields in the left sidebar. I also want to add some album artwork, so I need to right click the blank disc icon and select “Add cover…”
Find your artwork on your local computer and open the file.
After opening the artwork file, you should be seeing your artwork in the square on the left sidebar. Now, it’s time to save our new meta data into our MP3 file(s). All we need to do now is click the “Save” icon on the top left tool bar.
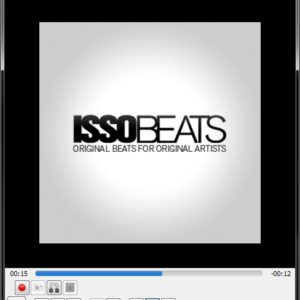
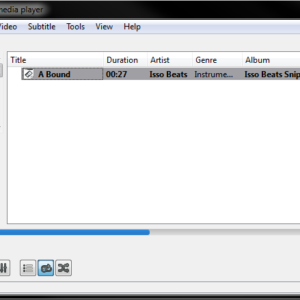
Let’s open up our file in VLC Media Player (best media player ever?) to see the final results of our extremely hard work. Check out the next screen shot for the grand finale. Remember, if you want to apply this to all of your MP3 files at once, simply click inside the directory playlist with all of your MP3 files and press “CTRL+A” on your keyboard to select all of your files! Make the edits in the data fields and then press the “Save” icon at the top to apply all your changes at once. Easy as pie. Let me know if you have any questions. Peace!
Pro Tip For Readers That Made It This Far:
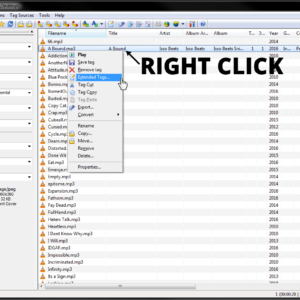
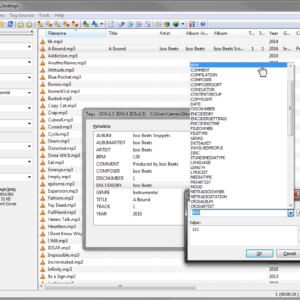
If you want to add even MORE tags to your MP3 file that most people won’t notice, you can do so by right clicking your MP3 file in the tag editor software, and then clicking “Extended Tags.” This might be useful if you want to add extra information or even hide information that is automatically embedded by your encoding device such as FL Studio’s “LAME” encoder. I’ll show you how to remove that pesky piece of meta data.
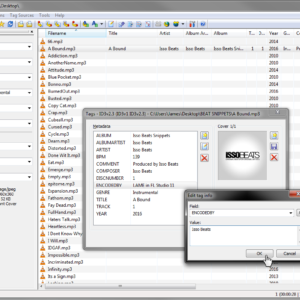
Our new screen will open up with our meta data already populated because we already did that step. Double click the “LAME in FL Studio 11” text to edit it, and just replace the text with your own custom text. Click OK to apply the changes.
Double click the “LAME in FL Studio 11” text to edit it, and just replace the text with your desired text.
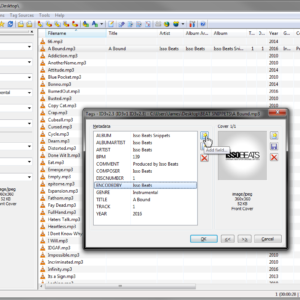
If we want to add new fields, simply click the paper star icon and select a field name from the drop down list, type in your data, and click OK to save changes.

